Abstract #2
(Click To Enlarge)
|
Cold
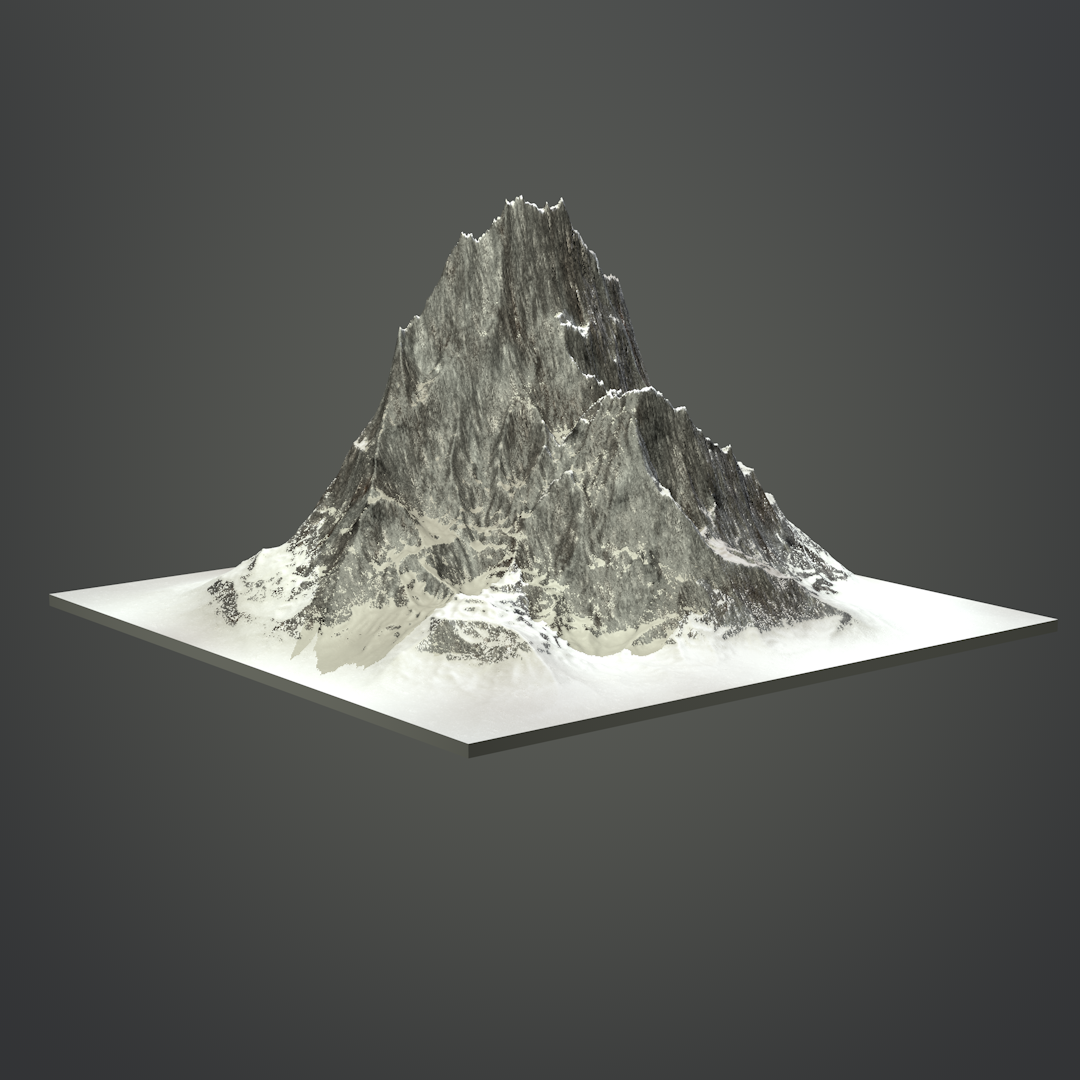
Cinema 4D Render 28.6 cm x 28.6 cm September 2018 Exhibition Text
I created Cold due to a feeling of loneliness that was created when filling out various college applications and realizing I would leaving much of what I love. When it came to visualizing this feeling I was inspired by the distant Mount Fuji that can be found in many of Hokusai's prints. It appears very distant and separated from the rest of piece, just as I soon may be from my family and friends. |
Planning
|
Inspiration
Katsushika Hokusai did a woodblock series of prints that presented 36 views of Mount Fuji. When it comes to incorporating his technique in my own art I decided to focus on forms and color pallets. His color pallets are very small and only include 6 or so colors that are heavily used. Additionally the two prints I focused on for inspiration have very natural forms, his print "Mountains Upon Mountains" have soft and organic lines created by hills, clouds, and mountains, but it also includes sharp and jagged lines created by the rising tree line. For my work I wanted to highlight isolation and thus multiple subjects would not work for my own piece. So I searched through his series of artworks to look for something to use as a subject. Eventually I landed on Mount Fuji. The mountain always appears very distant in his works and I decided it would be the easiest subject to show isolation, but also quite a bit of character. When it comes to moving a mountain into 3D, the process is quite different. Initially I was inspired to try and hand draw the mountain and digitally import it but I quickly realized it made more sense to keep my pipeline strictly digital. So I began looking at other reference photos, and digital pieces. I found a very active forum containing information for landscape development, this helped me build on my current set of C4D software skills. Going forward, I would like to take my inspiration and create a full landscape that contains various elements of nature. It would be a hindrance to my theme and meaning behind the piece to include these elements. |
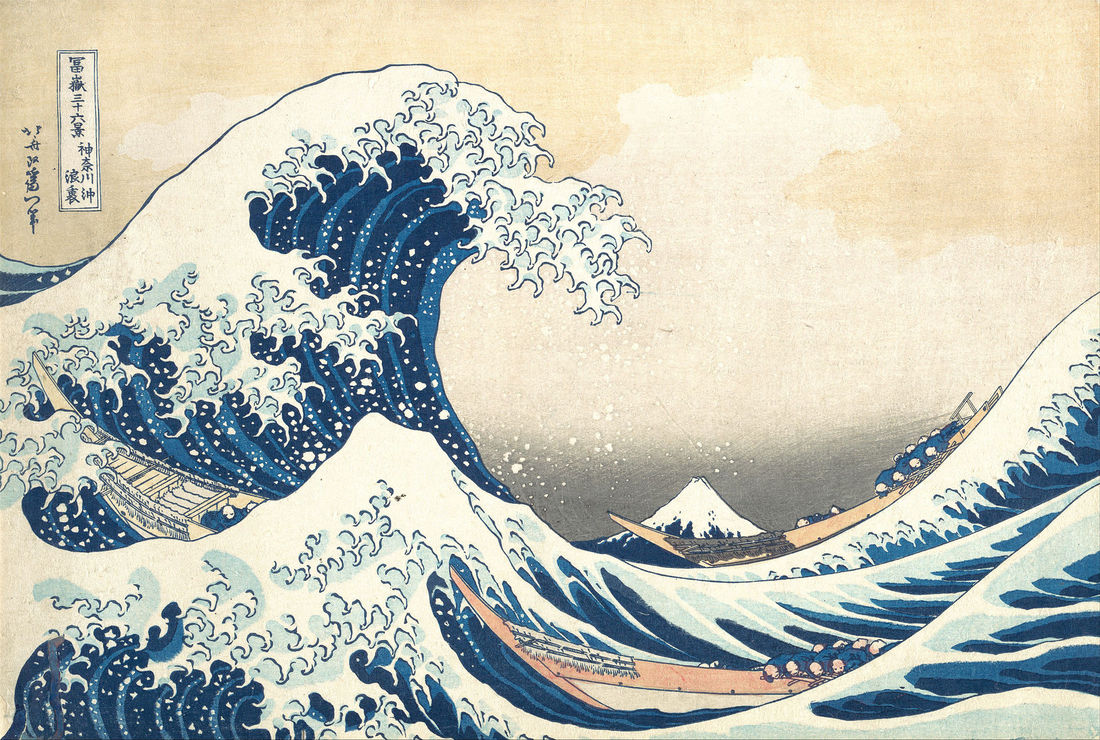
"The Great Wave off Kanagawa", 1829, Katsushika Hokusai
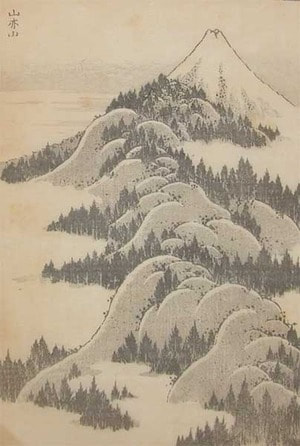
"Mountains Upon Mountains", 1834, Katsushika Hokusai
|
Planning Sketches
Sketch #2 My second sketch was based on a previous project I had done over the summer. I had created a cube of suspended ocean. I was wondering if it would be at all applicable to replicate this sort of effect for this new project. While I ended up ditching the whole ocean and water idea, I did stick with the cube format and decided my mountain would be an independent subject. The summer project was also done with Autodesk Maya and not Cinema 4D, this would mean I wouldn't be able to recycle my water material. 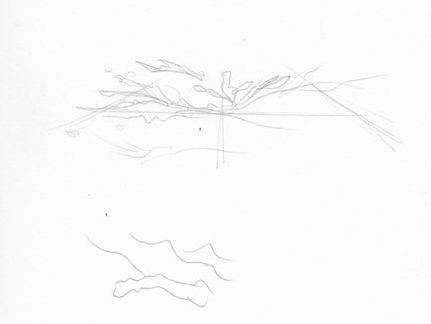
|
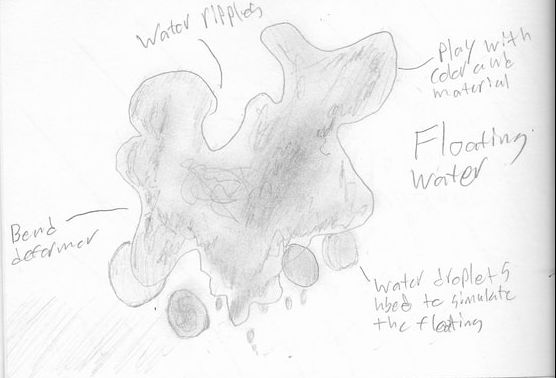
Sketch #1 My first sketch illustrates a floating glob of water. It has floating water droplets around it, and is very ripply. Initially I thought I would take the element of water found in Hokusai's "The Great Wave Off Kanagawa", and use it as my primary subject. However I believe the water didn't look unified enough and would not aid in the meaning of my piece which is loneliness. Additionally creating good and clear water digitally is very difficult, I plan on attempting this in my next project. 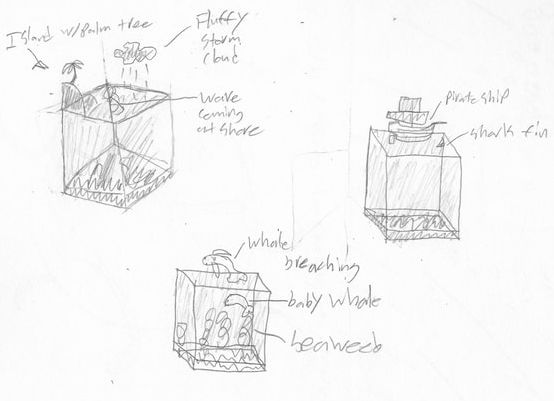
Sketch #3 My third planning focused more so on the digital technique that desired to use. I sketched out what appears to be a plane with various lines rising from it, these lines represent a noise pattern that I planned on using to form the ridges of the mountain landscape. My desire was to create a sharp and tall mountain, the rigidness would help carry the idea of being alone and rigid/calloused. |
Process

|
Modelling:
Typically the longest part of my projects is modelling and UV mapping my models, however for this project modelling took less time than usual due to a new technique I learned for this project. To begin I created a landscape mesh and turned the number of segments to 470 by 444. By setting the number of segments I am limiting the landscapes editable region to a height of 470 cm and a width of 444 cm. Once I adjusted the segment settings I went into object mode and added a child displacement layer to the plane. This layer allowed me to add a noise function that can randomized and edited. After I settled on a general noise pattern for the mountain I started to randomize the values and look for a natural form. i eventually landed on the long and tall looking mountain form. The next step was adding mini plateaus to the top of the mountain so that when I created the mountain material there would be random snow and grass scattered across the mountains peaks and ridges. The final step shown in the slide show was adding a base to the bottom of the mountain. The purpose of the base is to hide all of the exposed edges and vertices that may appear jagged or out of place. I scaled down a cube and grouped it to the landscape. |
|
Lighting and Material Design:
My lighting and material design phase is far different from my previous projects and is even different from many artists techniques. As opposed to UV mapping my entire mountain and creating a texture map for the mountain I decided to create a "smart material". My "smart material" is essentially a complex color gradient that searches for rough and smooth areas. The material however contains the information for the rough and smooth patches, the mountain object itself is completely smooth and holds no values. I went into the shader properties under the color input and added three noise layers, each layer has a different part to play when it comes to exposing rough and smooth patches. The first noise layer that I created was used as an overlay for the entire mountain, it gave the mountain a whole a rock look. The next layer was a burn layer and this acted as the roughness pattern for the mountain, all burned areas had a different texture to them which indicated them as burnt. And finally the third noise layer was a normal layer that textured the smooth areas of the mountain and produced the somewhat snowy look. The final material edit I made was making a command gradient, this gradient saw all white elements as flat and darker elements as elevated. This gave a more clean look to the material.
My lighting and material design phase is far different from my previous projects and is even different from many artists techniques. As opposed to UV mapping my entire mountain and creating a texture map for the mountain I decided to create a "smart material". My "smart material" is essentially a complex color gradient that searches for rough and smooth areas. The material however contains the information for the rough and smooth patches, the mountain object itself is completely smooth and holds no values. I went into the shader properties under the color input and added three noise layers, each layer has a different part to play when it comes to exposing rough and smooth patches. The first noise layer that I created was used as an overlay for the entire mountain, it gave the mountain a whole a rock look. The next layer was a burn layer and this acted as the roughness pattern for the mountain, all burned areas had a different texture to them which indicated them as burnt. And finally the third noise layer was a normal layer that textured the smooth areas of the mountain and produced the somewhat snowy look. The final material edit I made was making a command gradient, this gradient saw all white elements as flat and darker elements as elevated. This gave a more clean look to the material.
|
|
Rendering and Organization:
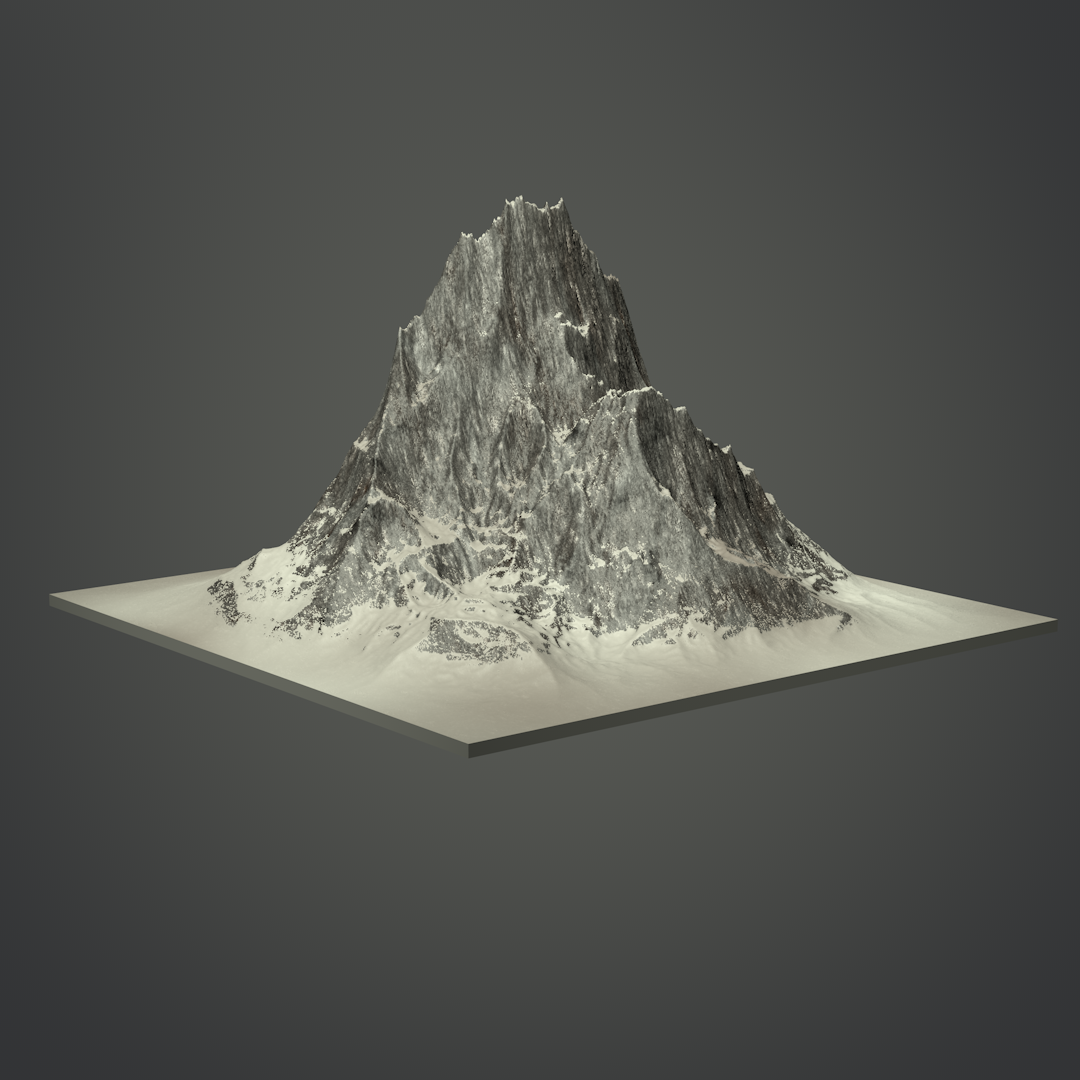
The rendering phase ended up being quite a bit simpler than it has been in comparison to past projects. I used a front light that was very warm and casts soft shadows across the forward face of the mountain, and in the back I used a very stark white light that created very strong and dark shadows. Initially I attempted to use volumetric lighting that would have produced an interesting foggy look and light rays, however this look made the lighting look poor. I used a square framing technique and a lense with a stand F-Stop. The image took about 10 minutes to render. My organization has also greatly improved since my last project and I now have a full C4D ecosystem of files on my computer that allow me to quickly reference photos, and programs to aid in my creative production pipeline. |
Experimentation
|
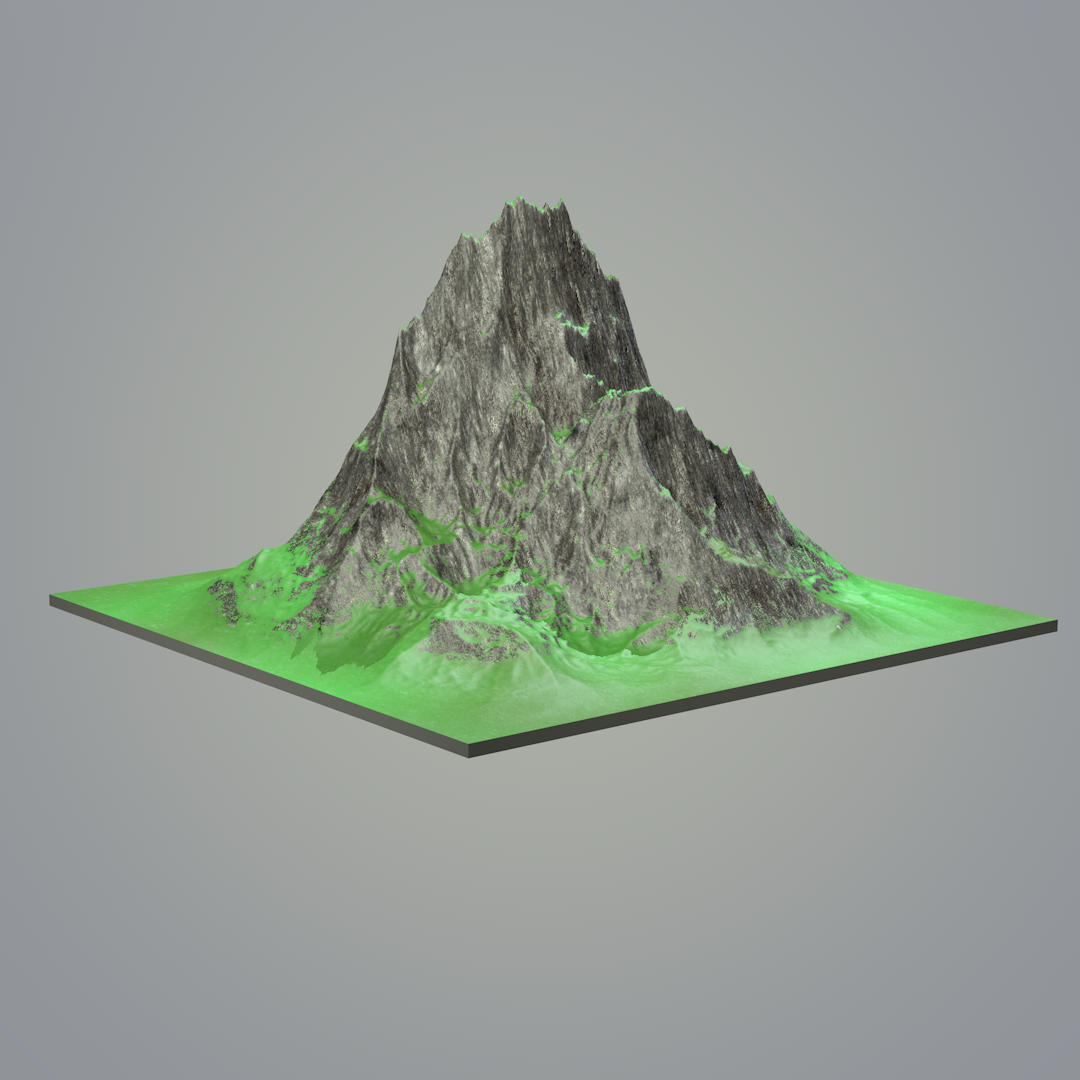
This project was quite experimental, especially when it came to using my new "smart material" technique. Below you can see three different renderings of my mountain. The center render was my first visualization of the mountain, it features green grass. The far right rendering is the mountain before I began to mess around with the lighting organization and composition. I initially started out with a single warm light that used area shadows, the light came from behind the camera. I later added a second light and global illumination that brought out the starkness in the snowy white colors and the dark shadows. My final image was a result of color changes, improved lighting, higher sampling, and an infinite background. The infinite background was a touch I had wished to include in my first C4D piece but was not able to figure out how to achieve. I now know that I can make a floor and background that have a matching material and then fuse them in the render output settings. If I were to continue experimenting I would attempt to add fluffy clouds rolling off of the mountain top.
|
|

Reflection
In reflection I am overwhelming satisfied with this project. I felt so accomplished with that I continued to work on it further by rendering out 91 additional frames of the mountain (each taking about 7-10 minutes) for an animation. It was a super simple animation that only had 2 key-frames and would show the mountain rotating. Following the long rendering process, I compiled the frames in photoshop, tweaked their color values, compressed, and finally exported them as a web GIF. I now have embedded the code for this GIF so that all angles of my mountain can be seen by my website visitors. My technique and pipeline have taken leaps and bounds since my last project and I was able to feel much more confident when going through the creative process. Once I knew that I wanted to create a mountain I hastily found out how to model, texture, and compose my desired mountain. In the future I would like to incorporate multiple elements into a single render, I have seen very talented artists create elaborate scenes with various objects within them. An interesting concept I have is a digital art gallery that holds all of my real world work inside of it.
ACT Responses
Clearly explain how you are able to identify the cause effect relationship between your inspiration and its effect on your artwork.
The cause and effect relationship between my inspiration and its impacts on my artwork is pretty clear. I was inspired by the stoic and solemn forms crafted by Hokusai in his Mount Fuji series of prints. My art was impacted by this inspiration and included colors and forms very similar to those found in Hokusai's prints.
What is the overall approach the author has regarding the topic of your inspiration?
The author approached the topic from a strictly historical perspective and occasionally made implications about Hokusai's printing style.
What kind of generalizations and conclusions have you discovered about people, ideas, culture, etc. while you researched your inspiration?
I have come to the conclusion that people hide what is beautiful to them because they want to keep it safe. Many of Hokusai's prints show Mount Fuji from a distance, hidden among busy scenes, however the focus was always on the mount.
What is the central idea or theme around your inspirational research?
My central idea for my inspirational research revolved around the theme of loneliness. I was hunting for a subject that I could extract and abstract to convey a sense of cold solitude.
What kind of inferences did you make while reading your research?
I have inferred that Hokusai's 36 print series was focused on Mount Fuji even though the mount is not always front and center in the prints.
Bibliography
- “The Great Wave off Kanagawa.” Wikipedia, Wikimedia Foundation, 10 Oct. 2018, en.wikipedia.org/wiki/The_Great_Wave_off_Kanagawa.
- Dikshant. “Cinema 4D - Creating a Rock Mountain Tutorial.” CG Terminal, 19 Jan. 2018, cgterminal.com/2018/01/19/cinema-4d-rock-mountain-tutorial/.
- “Katsushika Hokusai: Mountains Upon Mountains - Ronin Gallery.” Ukiyo-e Search, ukiyo-e.org/image/japancoll/p275-hokusai-mountains-upon-mountains-9342.
